After finishing the Easy Peasy Faux Roman Shade for my kitchen window, I had enough leftover fabric to make two curtain panels for the French door that leads to my backyard from my dining room. I’ve been wanting to put curtains up on this door since we moved into our house a little over 3 years ago, since the back of our house faces south so has sunlight all day long. Full sun all day blaring through french doors = a very hot house, especially in the spring and summer. Last Sunday afternoon I made my first curtain and it was surprisingly easy; from start to finish it took me only about 3 hours, hence the name “Afternoon Drapes”. These curtains are hung with clip rings, so there’s no need to sew a rod pocket across the top or insert gromets; this feature makes the project so much easier and faster! I am never purchasing curtains again! Here’s how I did it….
Supplies: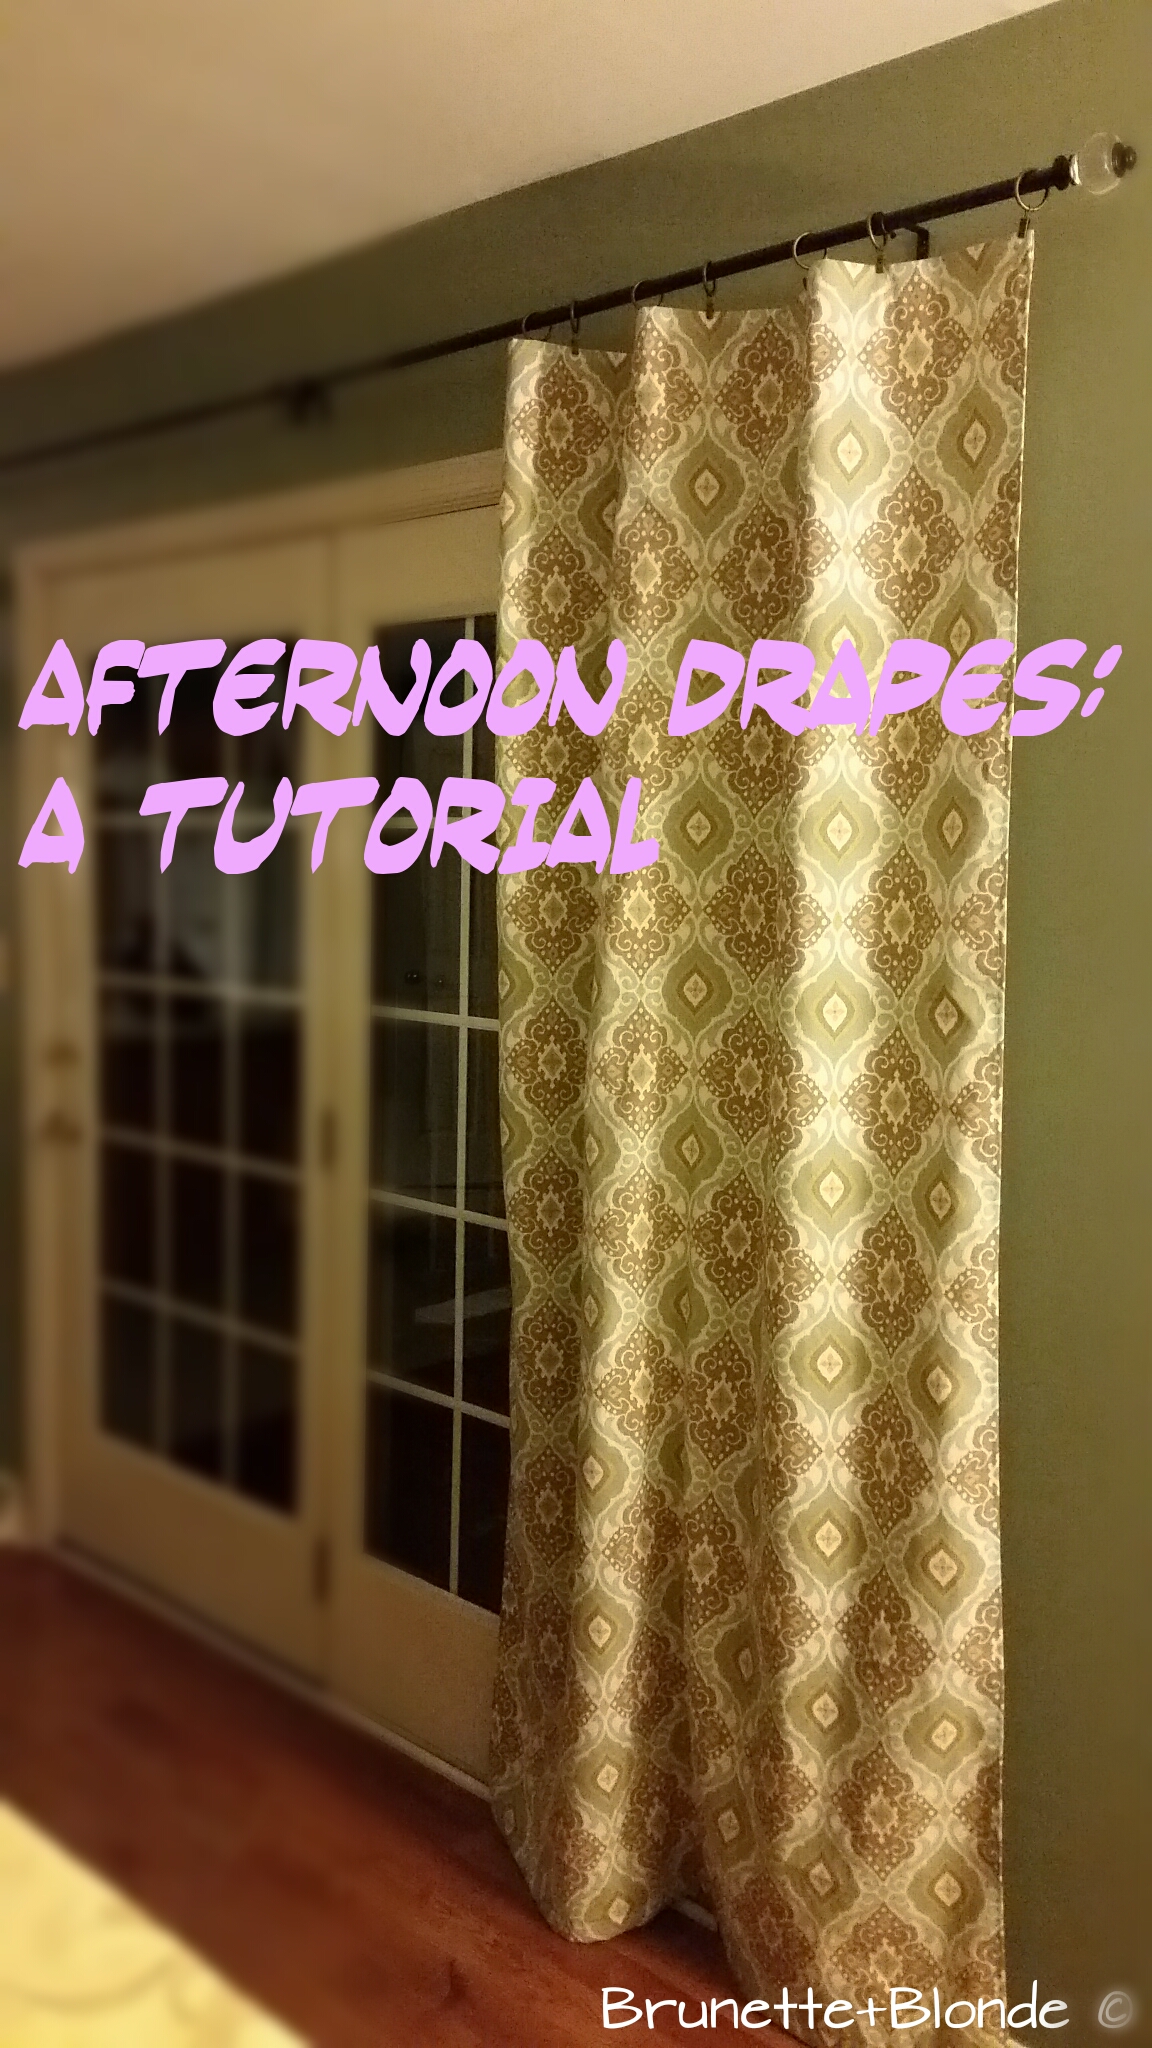
- curtain fabric: I recommend used a heavier weight, 100% cotton designer fabric; it’s very easy to work with, and has a nice drape to it once it’s hung. I used 45″ fabric.
- fabric for the lining: you can use a heavier-weight blackout fabric, but I used 100% cotton muslin
- matching thread
- cutting mat and rotary cutter, or good quality fabric scissors
- needle, and pins
- sewing machine
- yard stick or ruler
- Buckram fabric, 1.5″ wide (length needs to be = the width of the curtain fabric). The Buckram that I bought at Joanns was 3″ wide, so I bought 45″ of it, and cut it in half lengthwise. This leaves me with 2 strips to use for 2 curtains.

 First, lay out your (ironed) fabric, and cut the length of the fabric and lining to the desired length. (I used 45″ wide fabric, and used the entire width for my panel, so there was no need to trim the width.) As for the length, my curtain rod is hung about 6″ from the top of my door so I figured that my curtain needed to be about 82″ long…after allowing a few extra inches for hemming, I cut each curtain panel to 95″ in length (this also allows room for error if you cut crooked like me :))
Measure and fold the side seams first (see picture 2), into 1/2″ double seams. To do this, fold the fabric over 1/2 inch, iron it flat, then fold over 1/2 inch again, and iron again so it stays in place. Do this on both long sides of the panel. Lay your lining fabric on the wrong side of your curtain fabric, and tuck the sides into your side double seams as seen in picture 4 above – depending on how wide your lining is (mine was 45″, so a bit wider than the curtain fabric) you may need to trim a little bit off the edge of the lining so it nestles nicely within your side seams.
Next, to tackle the top hem.. This is also going to be a double hem, but the Buckram will be in the middle. This will provide extra support to the top of the fabric where the clip rings will clip on, so the fabric wont stretch with the weight of the curtain as it hangs. Fold the top of the fabric over 2″, place the Buckram, then fold over another 2″. Iron the seam, then pin in place.
Now, both sides and the top of your curtain should all be pressed and pinned. Sew these 3 seams with matching thread.
Attach the clip rings to the top of the curtain, and hang your curtain on the curtain rod. This way, you can see how much fabric is left, and how much you may need to snip off – this will again depend on where your curtain rod is hung.
 In this picture, you can see that my panel was about 4″ too long, which was perfect considering I wanted a 2″ hem. Here, use your rotary cutter to cut enough fabric off so that you have 4″ remaining. Then, remove your curtain from the rod, sew a 2″ double hem, then iron, pin, and sew just like you did with the side and top seams.
When you’re finished, your curtain is done! Hang it back up on your curtain rod, stand back, and admire your work! Easy huh?
Cheers!
Sara

Happy to come across this tutorial at this point in my life, as I have *four* sets of windows for which I need to make drapes! Many thanks for it being comprehensive and easy to follow! 😀
LikeLike
That’s great to hear Alicia! Happy sewing, and we’d love to see pictures of your completed project!
LikeLike